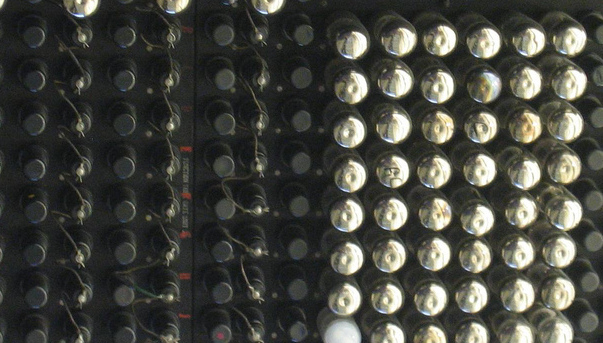
 I finished up the bridle and spars for the Batman kite and moved on to the second featuring a Spiderman logo (actually, the black Spiderman logo, but who’s counting). Until now, I have done all of my appliqué using a technique known as reverse appliqué. With this technique, I would create a stack of all of the layers of ripstop nylon that will be visible, usually with the lightest colors on the bottom. Then, I’d draw the design on the top layer in washable pencil, sew along those lines, then cut layers off the top one at a time until the proper colors show through. This photo is partway through that process on the Snorlax rok.
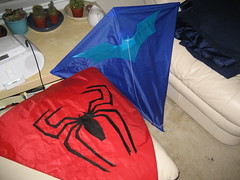
For this logo, I decided that cutting out so many sharp corners would be difficult, and cutting appliqué is when I invariably punch a hole in the sail and have to reach for the superglue. So on this one I tried forward (normal) appliqué instead. First I cut out the entire spider then taped the legs down to a piece of cardboard. I sprayed the whole thing with spray glue, waited a minute for it to set, then carefully placed the sail on top of the spider. Then I flipped it over, repositioned the spider legs to get all the air bubbles out, and voilà — I had the logo nicely attached to the sail. The glue isn’t permanent though, so then I spent an hour or so sewing around the inside edges of the design. I expected to go outside the lines of a few of the stitches, but surprisingly I did it all without a hitch, so to speak.
Cripes, man, what you’re trying to do? Get sued by DC and Marvel?
And PBS! .. to follow.