 Lacking creativity this year, I kind of phoned in the pumpkin carving. We went with regular old triangle-eyed Jack-o-lanterns. It turned out this suited Alex fine: he has decided lately that a certain level of traditionalism is called for. Watching keenly as I cut away bits of pumpkin, he was quick to point out whenever I was doing it the wrong way.
Anyhow, not wanting Halloween to pass buy without doing something new, I decided I’d write a pumpkin light control sketch for Arduino. I have the original board with the Atmega8, and the last time I touched it, the SDK was arduino-0011, which was released about seven years, three domiciles, and one country ago. Since then, I’m happy to see that arduino-mk landed in Debian, and the SDK hasn’t changed APIs in any noticeable way, so it was easy to get back up and running.
The concept is pretty simple: write PWM patterns to an output pin to control the brightness or on/off state of the pumpkin light. I came up with three patterns: fade up and down; random toggle; and sequential stepping. The sketch code is over here.
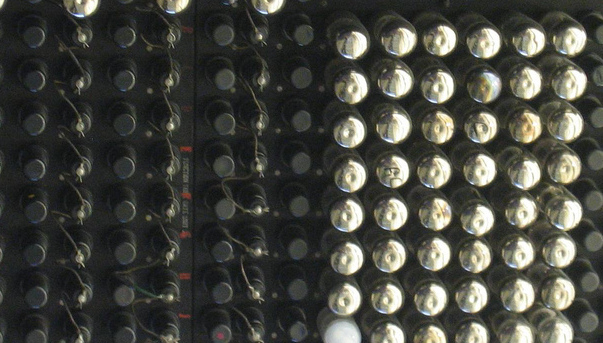
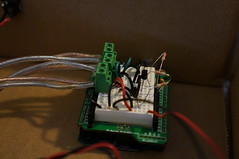 On the hardware side, I used 3 LEDs for each pumpkin, snipped from a roll that I had left over from my cabinet lighting project. The LEDs expect a +12V supply. On the spool, they are wired in series with a 150 ohm resistor and each LED has a 2.7V voltage drop. Powering that would stretch the Arduino, so I used a separate 12V power supply for those, and used the Arduino to switch an NPN transistor corresponding to each light. I soldered the LEDs to some speaker wire and put the rest of the components on an Arduino protoshield inside a box. This was essentially a lunch hour’s worth of work to get the basic functionality going, and then a little more time to make it neat.
This year Alex and Ian went as Bumblebee and Iron Man respectively (-ENOTPICTURED). Sadly, with store bought costumes — homemade ones will have to wait until one of us learns to sew something other than kites.