Some progress has been made on my guitar chip amp. Readers may remember that at the time of my last post, I had tinkered with KiCad and created the basic layout for my PCB. Since then, I finalized the design and had it fabbed through the great OSH Park batch prototyping service. This is a great deal: it wound up being about $10 a board (you get three at $5/sq. in) and the boards are of excellent quality. It took about 3 weeks from time of design submission for the finished boards to arrive in Canada from the States.
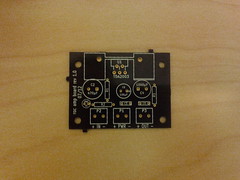
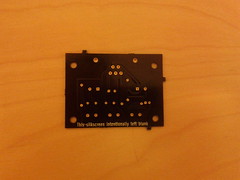
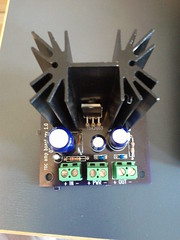
Above are the top and bottom of one the unpopulated boards. The solder mask is the OSH Park signature purple, and the through-holes are gold-plated. The bottom side silkscreen says “This silkscreen intentionally left blank” — a last minute addition because the service’s design checks fail if any layers are missing. I should get more creative with that next time.
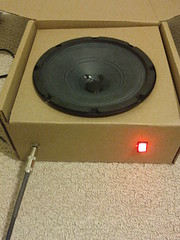
Although I do plan to someday build a wooden speaker cabinet to house everything, for now I just shoved all the electronics in the box that the speaker came in, as it happens to be the right size. Plug the instrument cable in the front, flip on the illuminated switch, and one is ready to rock.
I had all the parts waiting for the boards, so when they arrived I quickly populated one and hooked it up, plugged in my Les Paul and strummed an E chord. The resulting sound was something short of musical: loud, ringing, distorted noises were heard instead of the clear tones of my prototype. I feared that my board design was flawed, and without a scope handy, it would be tough to track down. But on the plus side, I knew that I was about to learn something.
I spent an hour or so following all of the traces on the board and comparing them to the schematic, making sure the caps were all connected the right way around and so forth. I also compared the finished board to my protoboard, which happened to work fine. Everything was the same, except where I had used two 1 ohm resistors in series to invent a 2 ohm resistor (the datasheet called for a 2.2 which I didn’t have at prototyping time).
Then I looked at said resistors a little more closely. On the outside edge, I could just make out a faint yellow band where I previously thought there was none. And that brown band was just the tiniest bit in the purple spectrum. Oops! My 1 ohm resistors were actually 47 ohms, making the gain of my prototype a measly three instead of the 101 I thought it was. It turns out that a gain of 101 is way too high without a volume knob. Also, one of the 47-ohm resistors was in a stabilizing RC circuit, likely causing the ringing oscillations I had heard in my PCB version.
I fixed the RC circuit when building board number two, but stuck with the 2.2 ohm resistor and accompanying large gain. I might use this version if I decide to put a volume knob in front of the amplifier, but I do find it’s a little too noisy overall for my tastes. I thus went back to board number one, desoldered the 47 ohm and 2.2 ohm resistors and replaced them with 1 ohm and 22 ohm resistors respectively, lowering the gain of that board to a modest eleven.
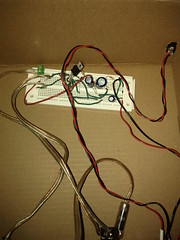
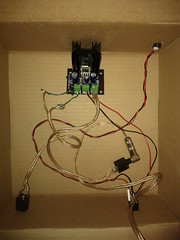
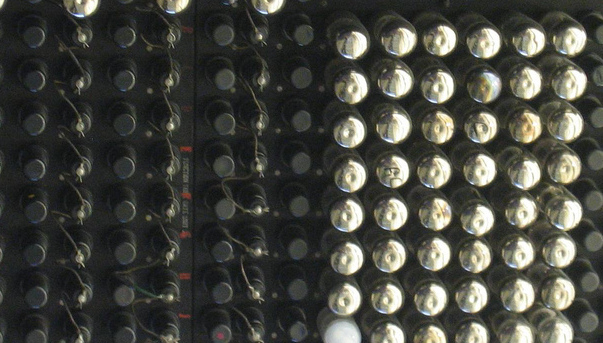
Pictured above are the before and after of prototype and PCB versions. There are certainly a few things I would change if I ever make another revision of the PCB. For one, the annular rings on the heat sink and connector footprints were too small, so soldering them was difficult with so little of the pad exposed. I might also do away with or reduce the size of the ground plane; even with the thermal reliefs, soldering and desoldering the ground connections was no easy task. But on the whole, making the PCB was an interesting experience and I look forward to having another excuse to do so again.
I’ll put the design files up on github one of these days.